
These skirts are kinda a "in" thing right now. I have seen many different pictures of them, and a few tutorials-but many versions have not been quite what I am looking for/my style. I have had this material since the end of last summer, patiently waiting for uninterrupted time to make a "plan of action" and carry it out.. ok and I had no motivation once the cold weather came rolling in!
There was a mix up in the amount of material, so i ended up with less than I wanted but instead of taking it back( I DESPISE returning items) I cut it length wise and decided to add a hem with a blue material that matches the skirt.
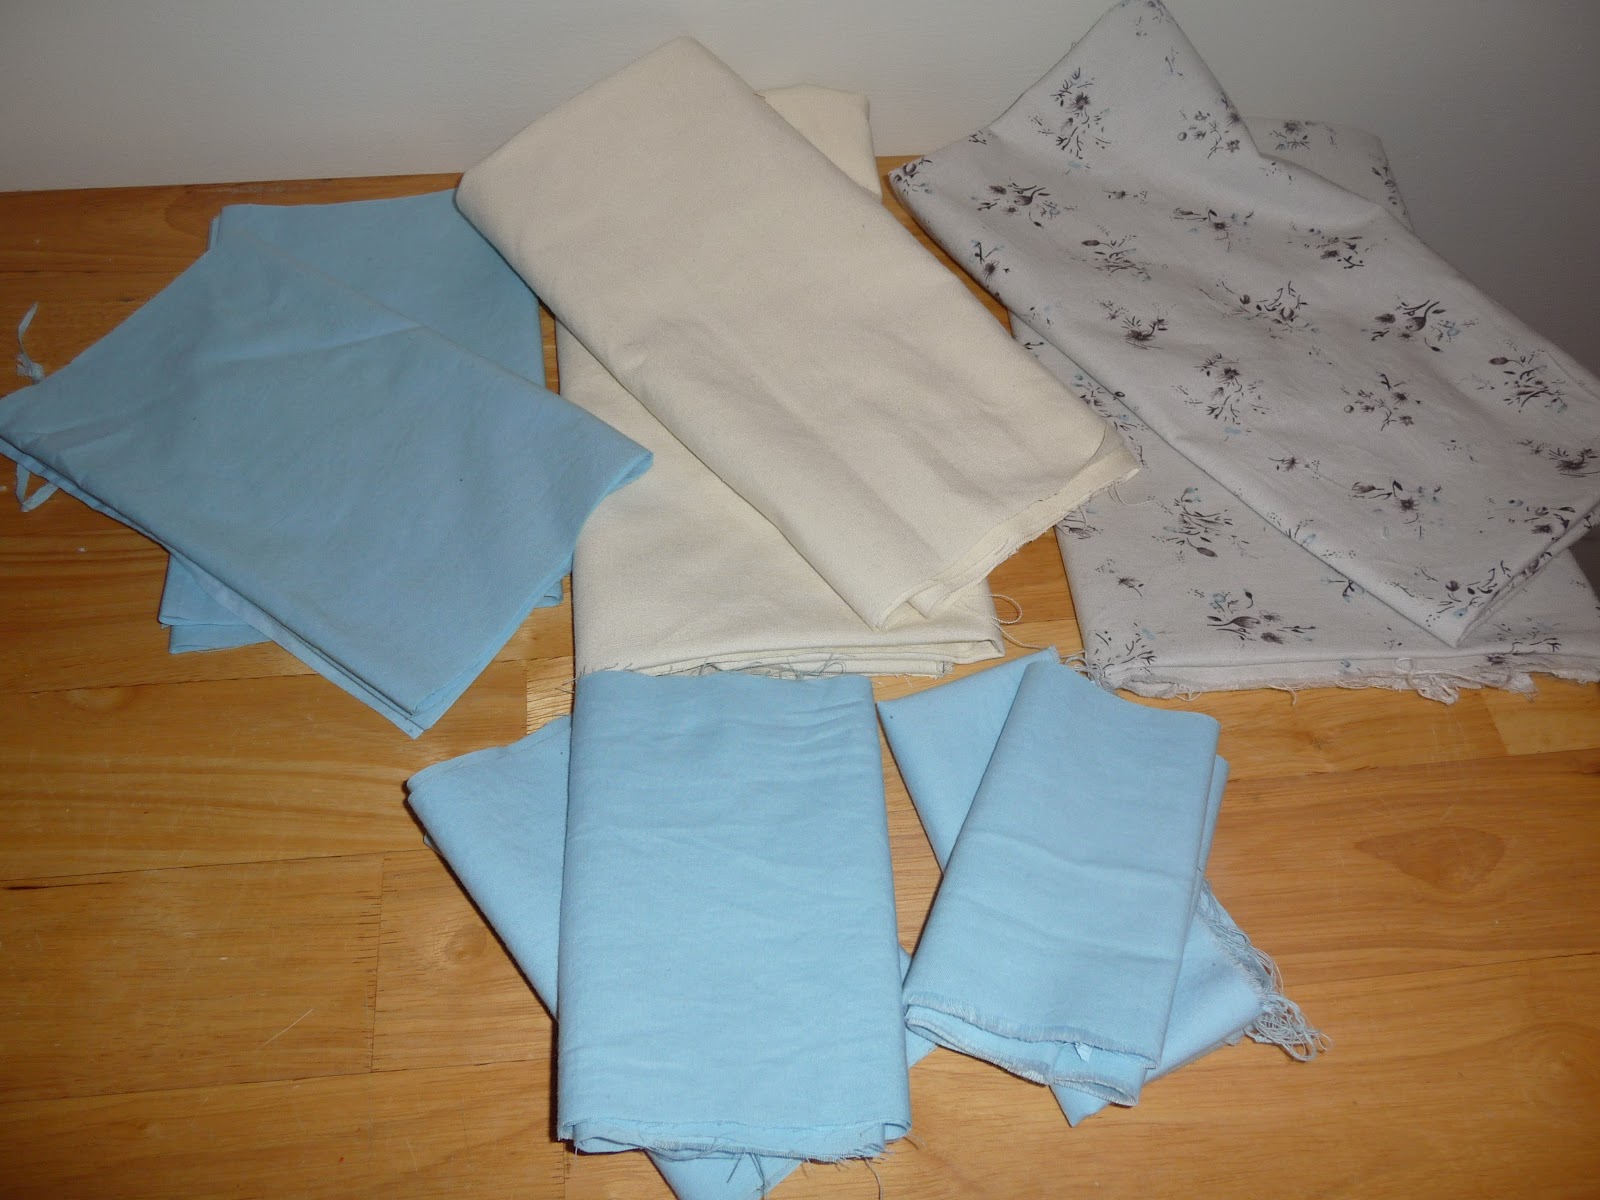
What you need:
1. Material the size you wish ( I actually bought about a yr and a half and cut it length wise- front and back pieces)
2. Inner sturdy material (about 1and 1/4th yard), I have seen one tutorial on make it love it where she makes one and just folds over the material(if it is big enough and sturdy enough) My material was pretty thin so I bought this real stiff lining.
3). Approx. A yard of coordinating/matching material.
4). Elastic 1- 1 1/2 width.- Length long enough to fit around your waist.
5). Thread
 |
| Add caption |
1). Cut Outer Material length wise so you have two pieces (mine were 1 1/2 yards wide and about 21 1/2 inches in length and that was too big- i ended up taking on about 4-7 inches).
2). Cut out 2 of your inner material about the same size as the first or slightly less to avoid trimming.
3). Cut out 2 of your hem material- I wanted it folded over so I made it double the width I desired ( 9 inches).
4). Cut out 2 of your top material(if your inner material does not match well with your print( Mine was tan and cream-I thought the blue would give a nice touch instead).( 6 inches wide)
5). Optional-Cut out 2 of sash material-(Mine was 5 1/2 inches wide).


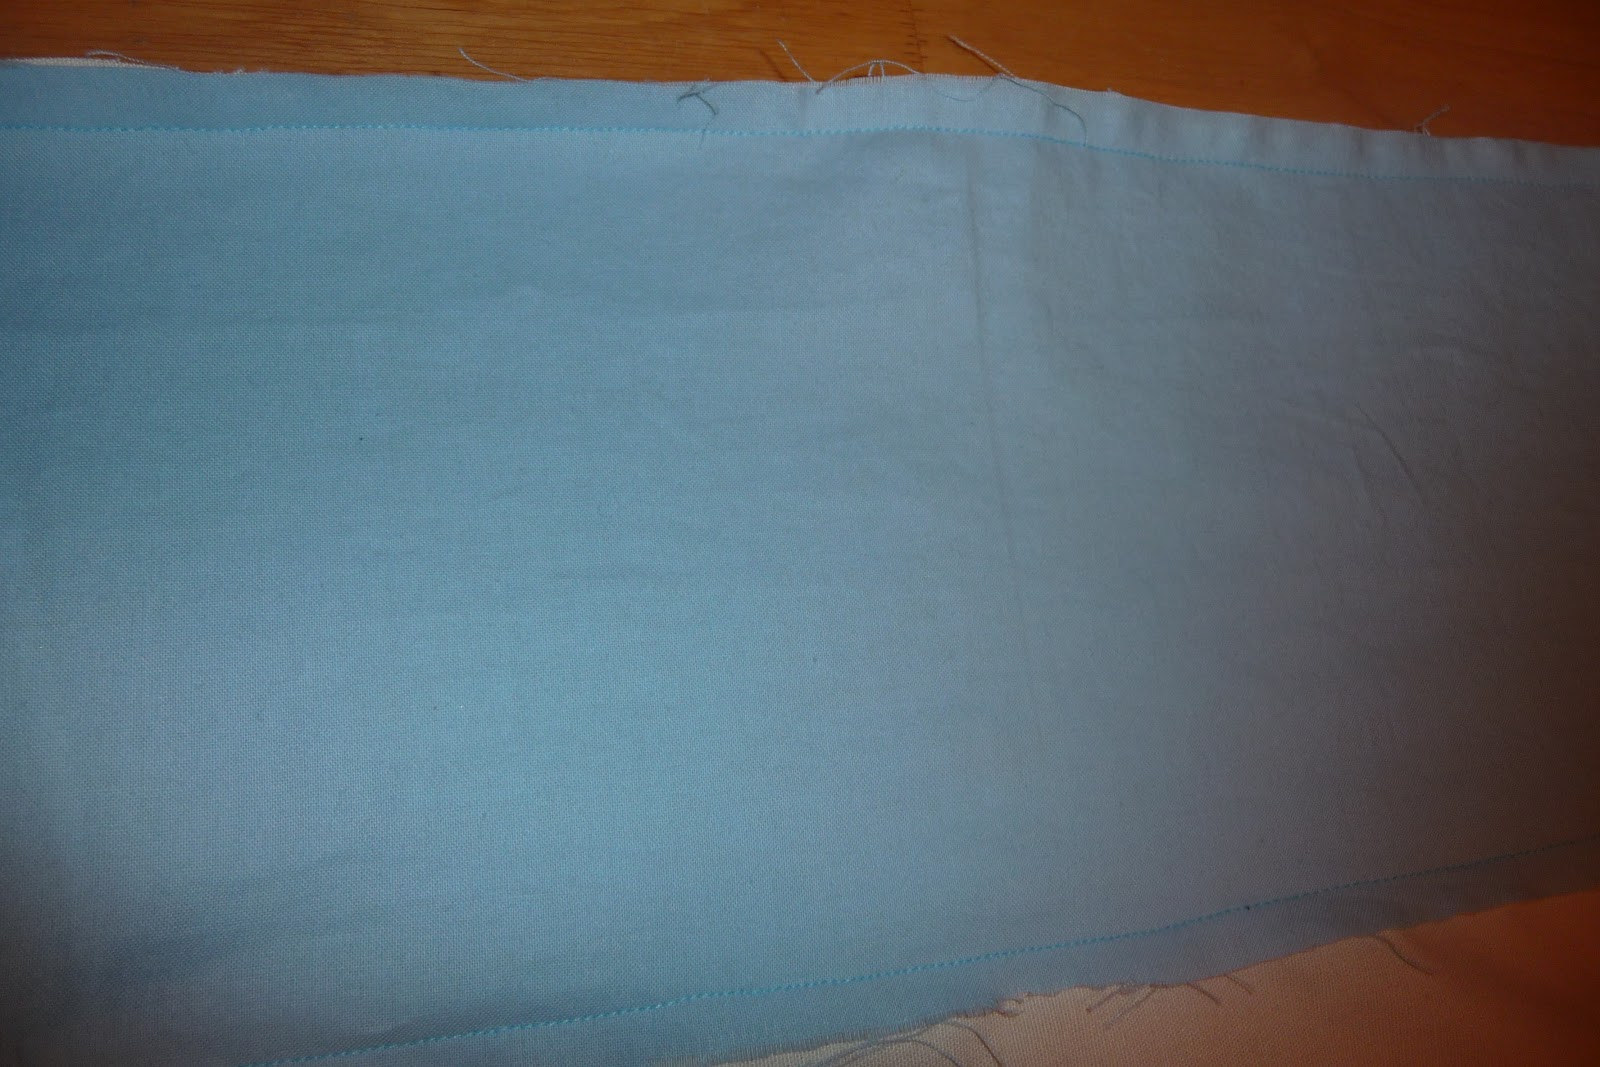


10). After this is sewn and you turn fabric over and fold over hem material, you will want to fold and iron bottom(so you will not see the raw edge.


 |
| I ironed the crease to make sure it was all even across bottom |
11). Serge ends and fold over and sew- or roll twice and sew if you do not have serger.


13). Make two lines big enough for your elastic to go through( elastic casing) and put your elastic through- using a large safety pin to feed.

14). Put the right side together- with " right sides" together:-D (main fabrics facing each other) -sorry no picture.
15). Hold up to self and make sure it is the right size- cut if needed.
16). Sew left side together and turn right side out.
17). Optional- make a sash or use a belt.


Just wanted to thank you for your kind comment on my blog :-) Sometimes it is a relief to just know that you are not alone with your struggle/thoughts. On a side note: I envy anyone can sew! Love the skirt.
ReplyDeleteJust my true feelings Tessy:-) and no, thank YOU for commenting on mine!
ReplyDelete